Create ar experiences
Note
Once you have completed setting up your assets in the Appearition platform, you must register your app to enable it to access the platform.
Your Appearition Platform Credentials (login details)#
An Appearition system administrator would have provided you with access to a system tenant, or tenants, and a channel, or set of channels, to use for your app development.
Or
The Appearition system would have created a default channel in the public tenant system when you first subscribed to the Appearition platform.
Depending on how your account was created you will be presented with one of the following options once you have logged into to the Appearition portal:
-
Tenant Selection Panel: Select the tenant of your choice to continue. This only applies if you’ve been allocated multiple tenants.

-
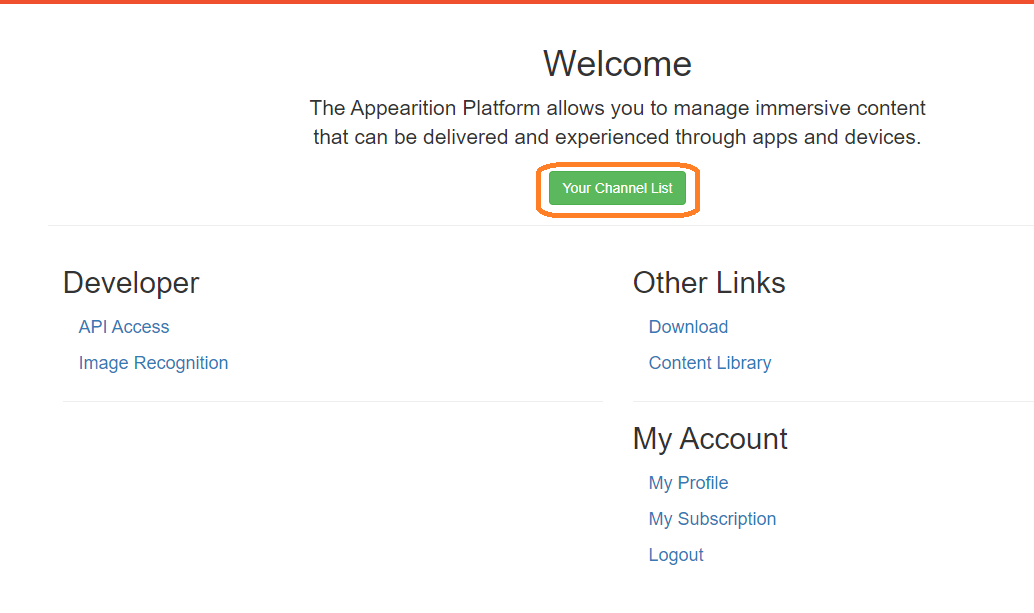
Welcome Screen: Displaying various features based on your role. In our case, we want to create content, so click on the button labelled “Your Channel List” below the greeting text to continue.
-
A panel with a list of channels: Select the channels of your choice to continue, as shown on the picture below.
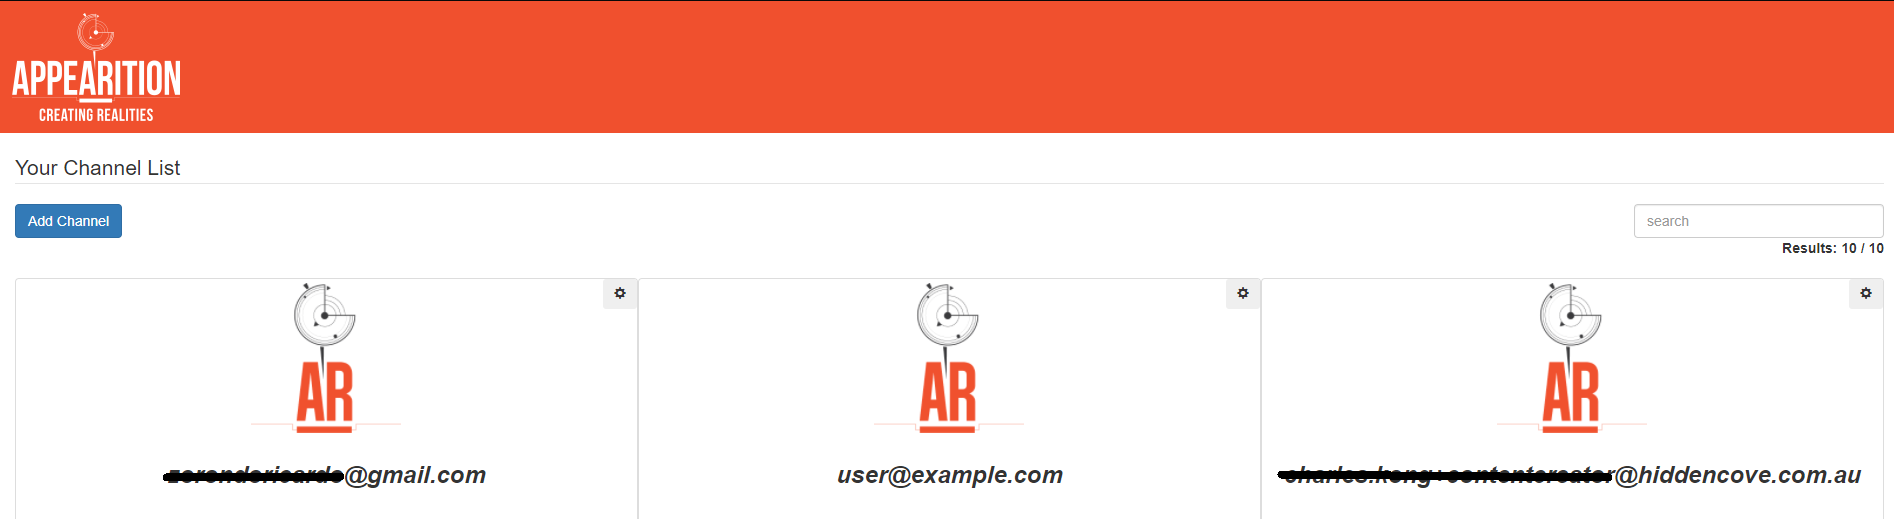
If you encounter the channel selection panel, click on your channel and then on the AR Experience module to continue.
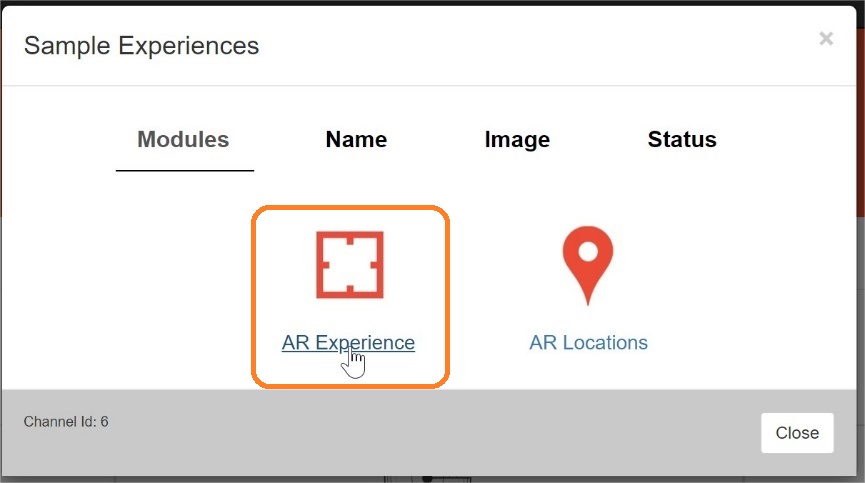
Note
Notice the “Channel Id” section at the bottom left of the panel. Write this down as you will need to know what channel id you are using when it comes time to build your Unity app.
- A panel listing all your AR Experiences: This section is where you can create all your AR experiences. If you have direct access to this option, this might save you time. This panel displays a summary of all the AR experiences you have created. From here you can click on the “Create” AR Experience button.

Which method should I use to create AR Experiences?#
There are two methods to create AR Experiences.
- Through Appearition’s text wizard, an AR experience set up mechanism that uses forms to create your AR experiences
OR
- A visual studio that enables you to drag and drop content into an AR scene.
Which method you select depends very much on your requirements. Either method, or a mix of both, will enable you to provision your AR experiences efficiently.
*** To select how you are going to create your experience: click on an option ***

“Create with wizard”, AR experiences created by filling out some forms…#
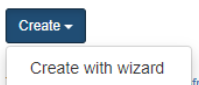
if you selected “create with wizard” the text wizard will be displayed:
*** The text-wizard:***

This follows the logic of filling out each AR provisioning form, and then clicking the “Next” button.
Details you will need to complete these forms:#
The “Details” segment, specially its name, provides the AR experience identifier used by the system.
The “Target” segment provides the details about a visual target, if you are using image tracking.
The “Media” segment provisions all the media types that you can use to project against the image tracker. You can insert one or many media types that will be projected when tracking is operational in the client app. Scale, Rotation, and Translation settings manage the size, rotation and positioning of the projections relative to the tracking image. Some options, or media types included are:{3d, Image, ModelView, transparent_video, video, video_stream, weblink, and more…}
The “Tags” segment provides the means for the system to enable different types of access to your AR experiences. In this case we are building an anonymous app, in which users do not need login functionality to use the app. So the “AllowAnomymousAccess” tag makes sense. For more information on tags, click here.
For more information on the AR Provisioning Forms, click here.
“Create in Studio”, the visual drag and drop option…#
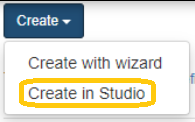
if you selected “Create in Studio” the Studio will be displayed. Name your new experience:
*** The Studio ***


drag and drop your experiences into the studio, then using rotate,scale (resize) or translate (move) you can accommodate your target and media objects in you scene as required.