Appearition Platform with Broker and AUXILIO
The Appearition Platform is a service that gives you the tools to integrate immersive experiences (XR) into your new or existing apps and solutions. It gives you the control to configure and connect to existing digital content libraries and existing data stores. The platform helps you to aggregate, transform and visualise information for more engaging and contextually relevant presentations and workflows for your end users.
The Appearition Broker is a service that powers edge computing for the Appearition Platform. It is designed to connect client applications to services running closest to them for optimal performance and connectivity.
AUXILIO is a web application with remote video support that allows real-time annotations tracked to objects on the support receivers camera view.
Deployment using AMI with Cloudformation#
All of the application components for the Appearition Platform, the Appearition Broker and AUXILIO are deployed on one EC2 instance. Supporting the single instance are infrastructure components such as Cloudfront Distributions, Application Load Balancer with Listeners and Target Groups and Security Groups. Once launched, you will be able to immediately run remote support sessions via AUXILIO and monitor call usage via the dashboard on the Appearition Platform portal.
Through the Appearition Platform, you will also have access to all of the modules for building and integrating XR capability into your business workflows. A sample tenant is available to start your journey in exploring and learning the capabilities of the platform via WebAR.
It is worth noting that the best way to explore the product is to actually build a proof of concept (PoC) or prototype. Our team at Appearition have been working closely with customers across different sectors since 2012. We have helped countless companies explore and understand how immersive tech might benefit their organisation. For more information please visit our website or contact us at info@appearition.com to help you on your journey.
Find me in the AWS Marketplace
Start your 30 day free trial: AWS Marketplace - Appearition
Product Video#
Cloudformation Template#
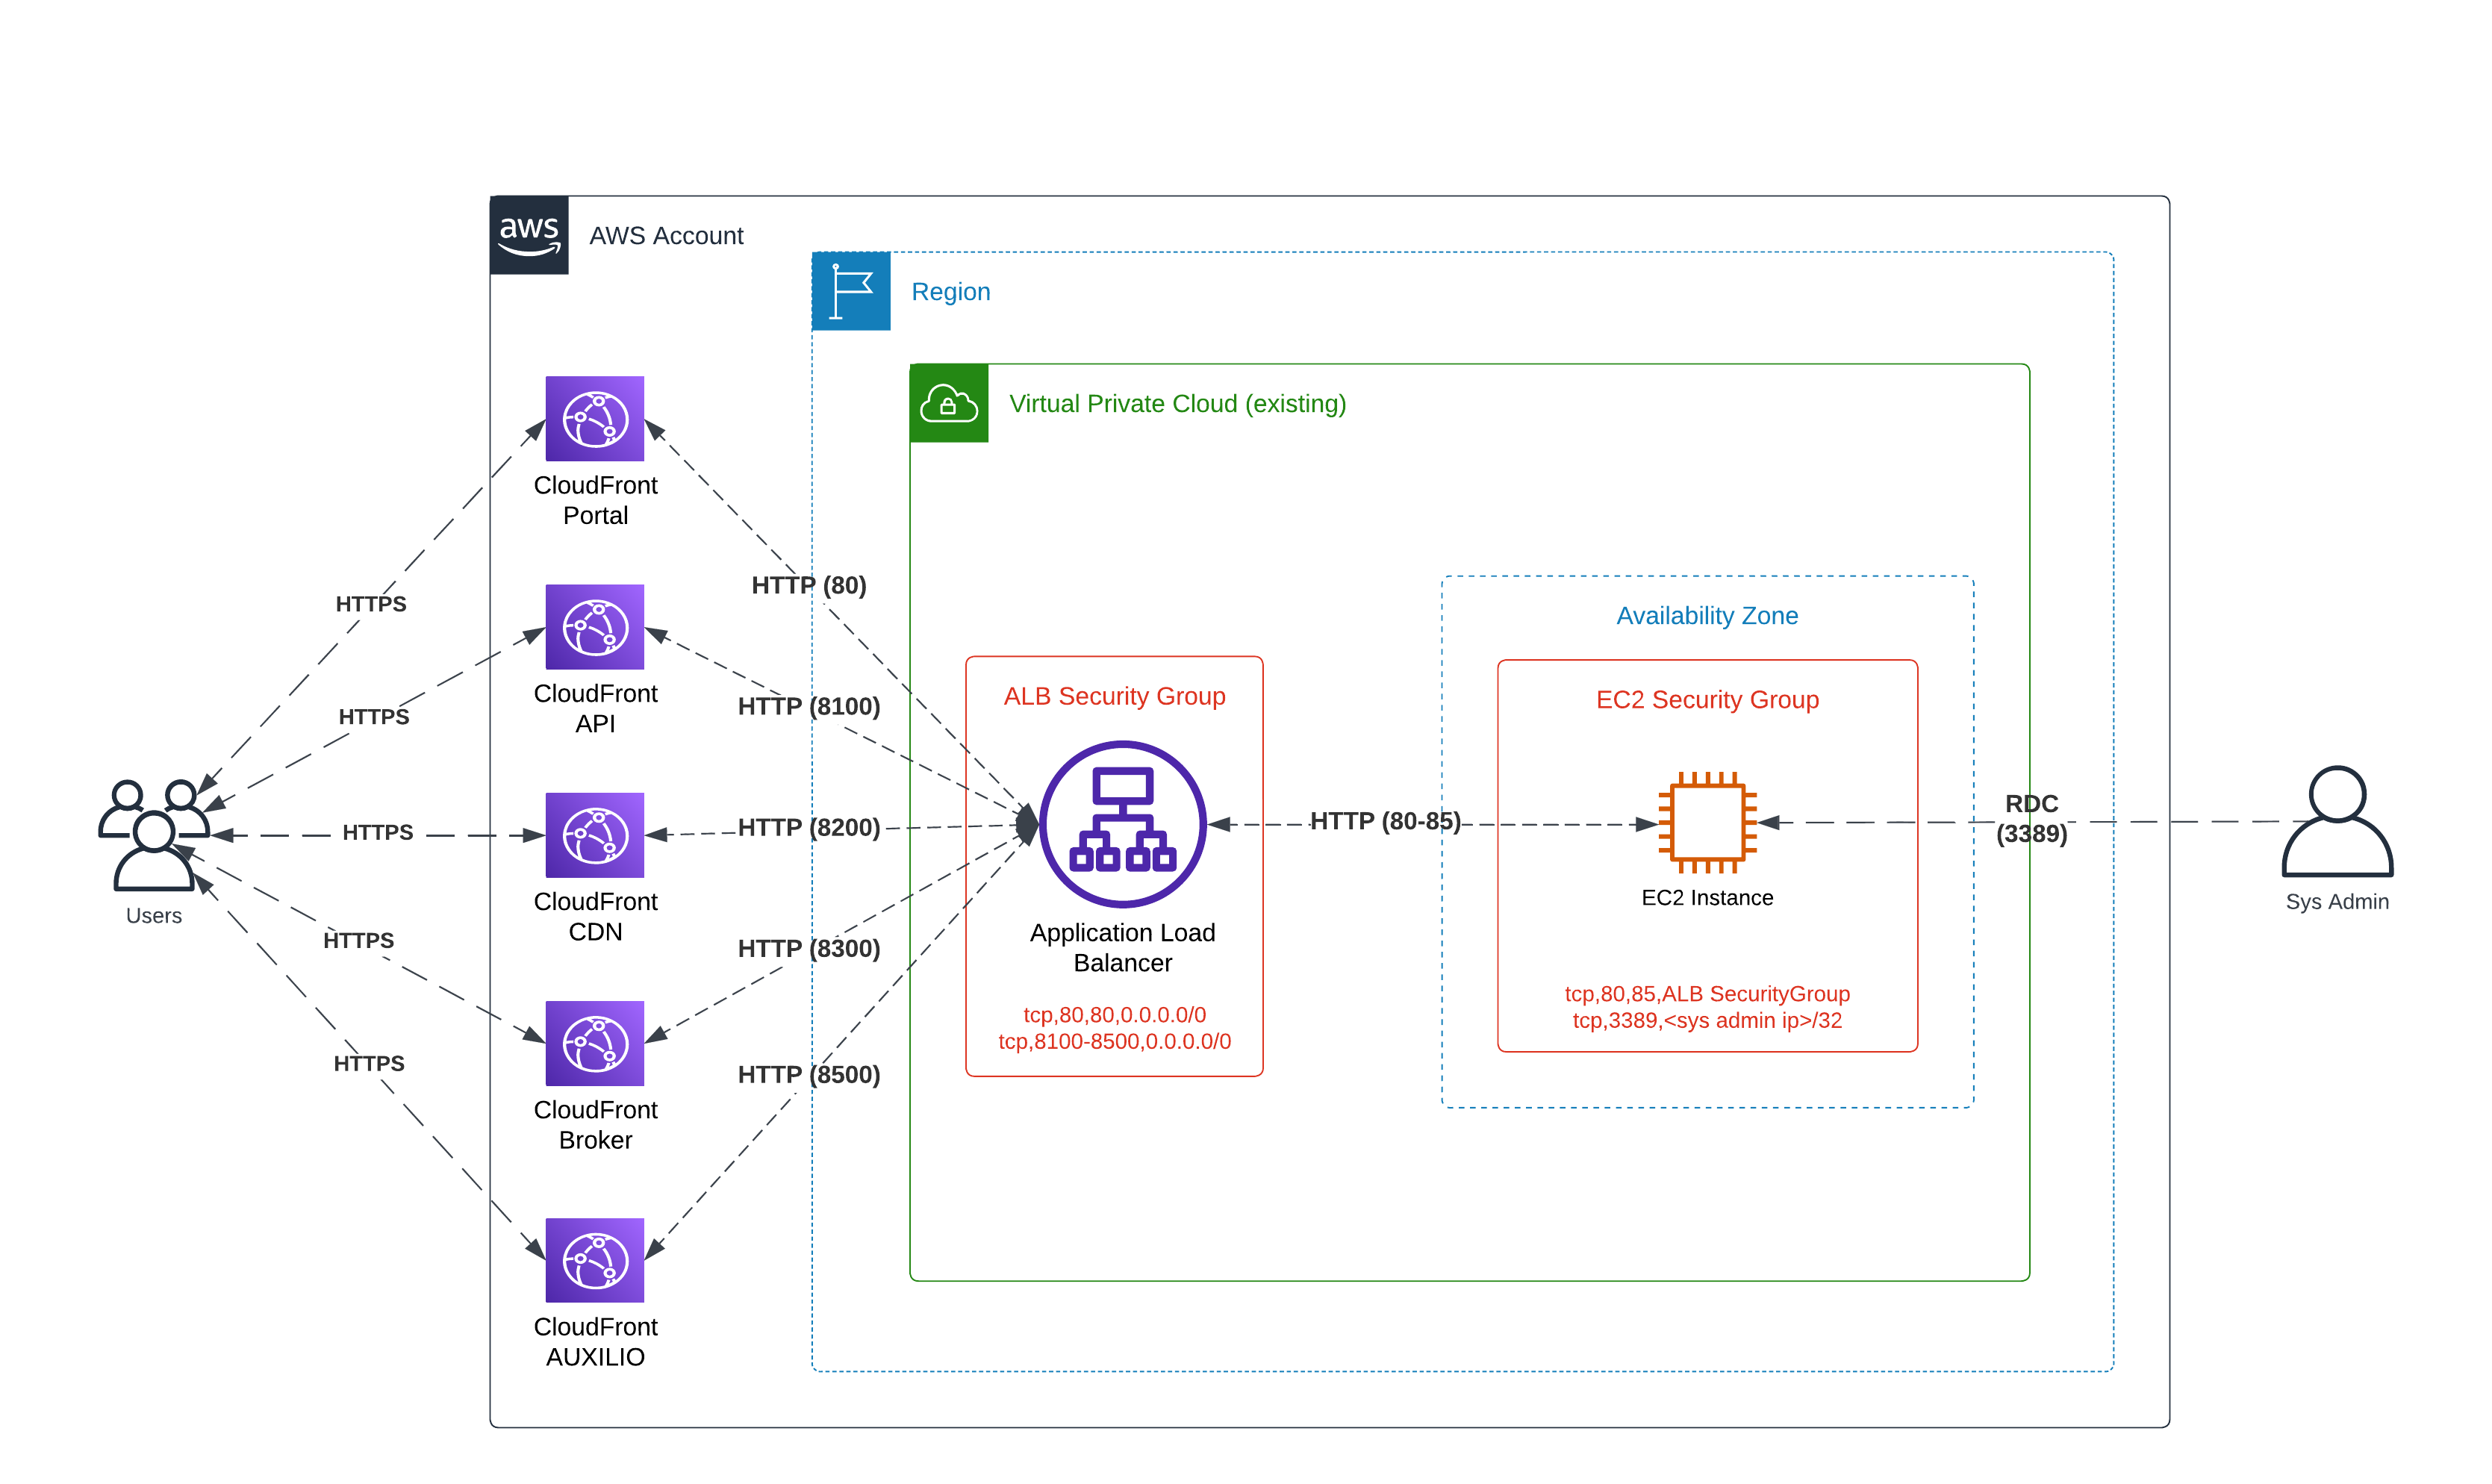
The following diagram shows the resources that are launched in your AWS account.
Cost Calculator#
The following link will provide you with an estimate of resource cost for the default installation.
Additional AWS resource information#
For the AMI:#
Location of all sensitive information saved by customers
The Appearition Platform has an inbuilt identity management feature. Information such as a username, password, email address, name, contact details, along with other properties can be collected and stored. All identity information is held in the master database stored on the local MS SQL Server Express database
Explain all data encryption configuration
User accounts are protected by username and password. The password is one way encrypted and stored in a table in the master tenancy database. When a module is activated for a tenant, any sensitive module setting is encrypted and stored in the tenant specific database on the local MS SQL Server Express.
Step-by-step instructions for rotating programmatic system credentials and cryptographic keys. The AMI-based product requirements explain the basic requirements for listings that use credentials and cryptographic keys.
User account passwords can be changed anytime once logged in via the My Profile page. As part of the AMI launch process, an account is automatically created for the System Administrator. The password is set as the instance ID of the EC2 instance. Once logged in, you can change that password via the MyProfile page.
Provide detailed instructions on how the user interacts with your application to decrypt necessary data if your application makes use of any encryption techniques
User’s will not interact with encrypted data. Some modules which are activated in a tenant may require an encrypted setting to be configured. In these cases, the system administrator would enter the value once and the system would encrypt and store and then internally decrypt and use as needed.
Step-by-step instructions for how to assess and monitor the health and proper function of the application
The following steps are to be performed from your AWS account in the region where you launched the stack.
- Verify the CloudFormation stack has NOT been deleted.
- Verify the EC2 instance is running:
- Under the “Resources” tab of your created stack, you will find an entry with Logical ID “Ec2Instance”. Click the “Physical ID” to navigate to that instance in the EC2 console.
- Ensure the Instance State is running. If not, you will need to start the instance.
- If running, choose the Status checks tab at the bottom of the page to review if your status checks passed or failed.
- Verify the health of each Target Group in the Application Load Balancer:
- Back in the “Resources” tab for the CloudFormation stack, you will find an entry with Logical ID “ALB”. Click the “Physical ID” to navigate to that entry in the EC2 console
- Select the entry from the list
- Select the “Listeners and Rules” tab
- Each Target Group will be listed in the table. Under the “Default action” column, click on each Target Group which is a link to the Target Group management screen
- Select the Targets tab and ensure the “Health status” for the instance is showing “healthy”
- Do this for all listener target groups under the ALB
- Verify the Appearition Platform is running:
- Under the “Outputs” tab of the CloudFormation stack, there will be a link to the “Portal”.
- Navigating to that link and you should see the login page for the Appearition Platform.
- Verify the Appearition Broker is running:
- Under the “Outputs” tab of the CloudFormation stack, there will be a link to the “Broker”.
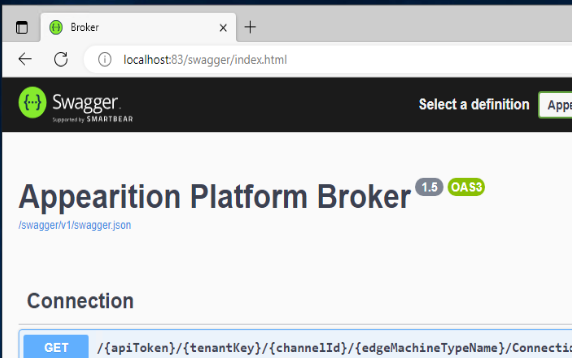
- Navigating to that link and you should see the Swagger home page listing all of the OpenAPI endpoints available to developers
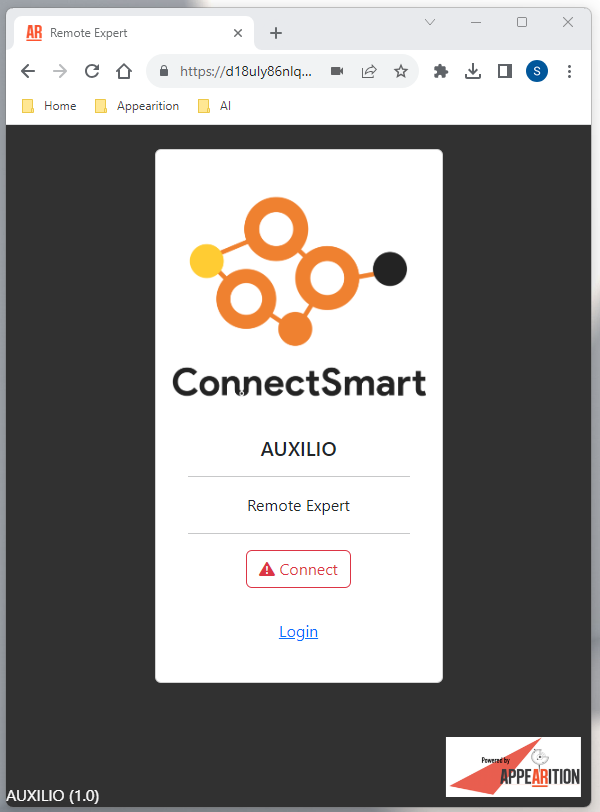
- Verify AUXILIO is running:
- Under the “Outputs” tab of the CloudFormation stack, there will be a link to the “AuxilioRemoteExpert”.
- Navigating to that link and you should see the AUXILIO Remote Expert home page where the “Connect” should become green if everything is functioning correctly.
- If any of the above checks have failed, please refer to the troubleshooting section below for information and guidance.
For the Cloud Formation Template:#
A purpose for each AWS Identity and Access Management (IAM) role and IAM policy created by the AWS CloudFormation template
The CloudFormation template does not create any IAM records.
A purpose and location of each key created by the AWS CloudFormation template
The CloudFormation template does not create any keys. You will need to supply your own KeyPair as a parameter when launching the stack. You will need this KeyPair to be able to retrieve the Windows Password for the EC2 instance that is launched as part of the stack.
Network configuration details in deployments involving more than a single element
The CloudFormation template will create all elements inside your nominated VPC in your region of choice:
- Five Cloudfront distributions will be created, one for each of the API, Portal, CDN, Broker and AUXILIO services. All distributions will be configured to handle HTTPS requests and route HTTP traffic, along with all query string parameters all headers and all cookies, to the one Application Load Balancer origin;
- One Application Load Balancer (ALB) with multiple Listeners and Target Groups. It will direct HTTP traffic to the one EC2 instance on ports 80 - 85;
- One EC2 instance running a base version of Windows Server 2022 and handling TCP traffic on ports 80 - 85;
- One Security Group protecting the ALB and allowing traffic from the Cloudfront Distributions on ports 80 and 8100-8500;
- One Security Group protecting the EC2 instance and allowing TCP traffic on ports 80-85 from the ALB security group only.
A detailed guide on how your applications are launched and how they’re configured to communicate if the deployment includes multiple AWS resources
The following application components are launched for this product:
- Appearition Platform:
- This provides a suite of secured HTTP API endpoints for accessing application data and functionality.
- There is a HTML user interface where administrators and authorised users can configure and work with data and functionality.
- All communication to and from the Appearition Platform only occurs via the HTTP API endpoints
- Appearition Broker:
- This provides a small set of HTTP API endpoints for accessing the specific functionality offered by the Appearition Broker.
- It also provides video calling capability via WebRTC for authorised clients
- AUXILIO:
- This is a web application offered through a standard web browser HTML interface.
- It provides the interface for video calling.
- It establishes connections to both the Appearition Platform and Appearition Broker via the HTTP API endpoints and the WebRTC communication channels.
A pricing breakdown that includes the cost of running AWS resources added above the standard limits. Provide prescriptive guidance on managing AWS service limits.
All application components handle and serve standard internet traffic through HTTP and WebRTC. As all traffic is routed through standard CloudFront distributions, a standard Application Load Balancer and a standard EC2 instance, there is no requirement for any non-standard limits.
All data encryption configuration. For example: Amazon S3 server-side encryption, Amazon Elastic Block Store (Amazon EBS) encryption, Linux Unified Key Setup (LUKS), etc.
There is no encryption configuration required by this product.
Deployment Guide#
Please follow these steps to install in your AWS Account:
- Navigate to the region you want to launch into.
- Navigate to AWS CloudFormation
- Click Create Stack and then select With new resources (standard)
- In the Prerequisite - Prepare template panel select Template is ready

- You will need to download the CloudFormation YAML template file (see above)
- In the Specify template panel, select Upload a template file and choose the downloaded file
- Once chosen, it will be uploaded into an S3 bucket that AWS automatically creates

- Click Next
- You will need to enter a Stack name, e.g. AppearitionPlatformBrokerAuxilio
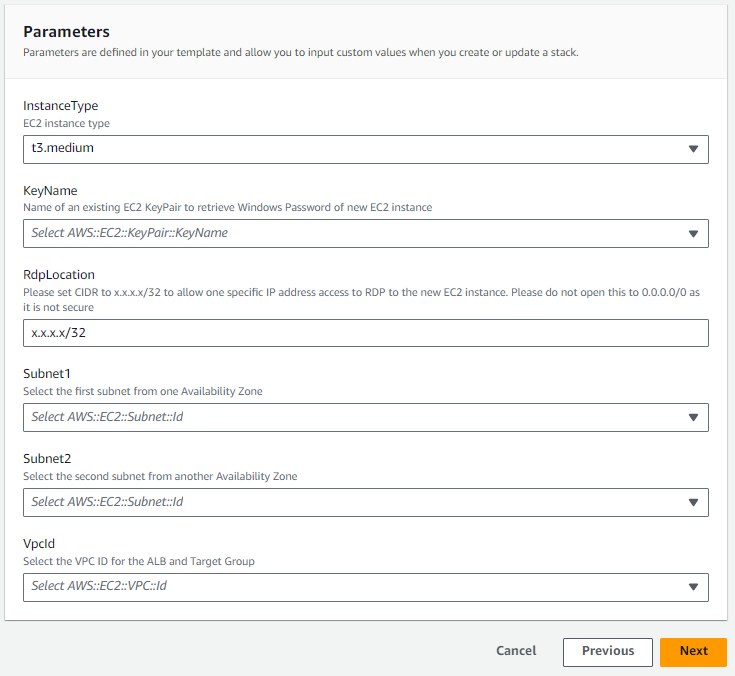
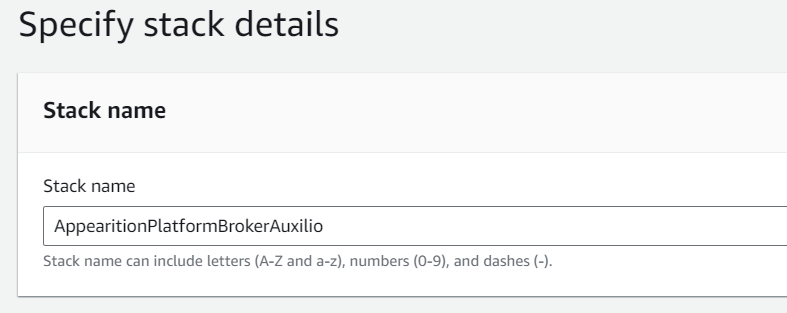 and set Parameters:
- InstanceType: This is the type of instance that will be launched. You can choose from the list of options however the default is the minimum that is recommended
- KeyName: This is the AWS Key Pair for the region for the new AWS account. You will need to pre-create this. This will be used later on to get the Windows Password of the new EC2 instance
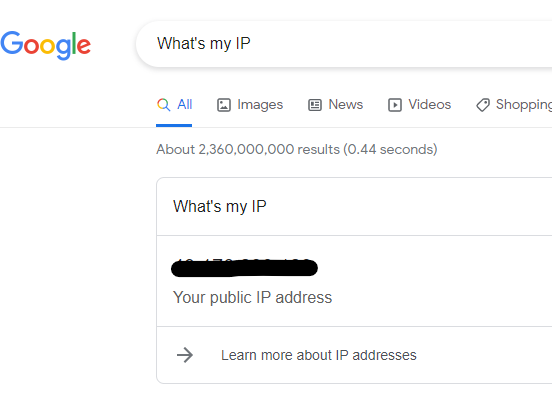
- RdpLocation: This is your public IP address which will be added to the AWS security group when created to allow you to RDP into the new EC2 instance. (e.g. 111.222.333.444/32). You can discover your public IP address by opening up a web browser and searching for What’s my IP
- Subnet1: Represents the first Availability Zone for the Application Load Balancer and where the EC2 instance will be created in
- Subnet2: No resources are actually created in this subnet however the Application Load Balancer requires at least 2 availability zones to be specified.
- VpcId: The VPC where you want all of the resources launched in. The simplest option is to select the current VPC from the list. However, if you want to host this product in a dedicated VPC in your region, you will need to manually create and configure one. Please refer to AWS documentation and support for this.
- Click Next
- You can leave this next screen with default value (i.e. Configure stack options) and click Next
- In the Review AppearitionPlatformBrokerAuxilio screen, scroll to the bottom and click Submit
- AWS CloudFormation will go off and create all of the required resources including an EC2 instance and a Security Group which allows HTTP traffic and RDP access. It will take some time to complete so watch the Event tab.
Grab a coffee
It will take approx 30 mins for the creation to complete. You will find that the “WaitConditionForPlatformInstall” will stay in “CREATE_IN_PROGRESS“ for around 20 mins while the Appearition Platform is being installed, configured and warmed up.

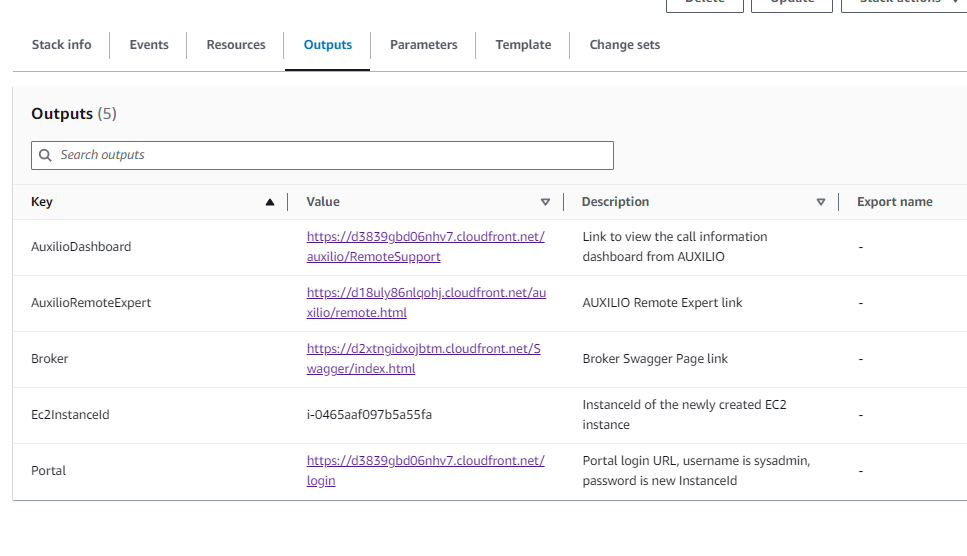
- Once completed, the Outputs panel will list numerous important links:
- AuxilioDashboard: Navigates you to the Appearition Platform management console login page. Once logged in, you will be automatically redirected to the Remote Support Dashboard screen where you can review call log information in AUXILIO
- AuxilioRemoteExpert: Navigates to the AUXILIO screen for the remote expert to log in. We have pre-created a sample user for testing this feature out: Username and Password is remote1
- Broker: This link is the Swagger home page which a developer can use to explore and try the various API endpoints that the Broker exposes
- Ec2InstanceId: This is the password set for the sysadmin user account on the Appearition Platform portal
- Portal: This is the Appearition Platform’s management console. It is a web interface where the username is sysadmin and the password is the Ec2InstanceId value
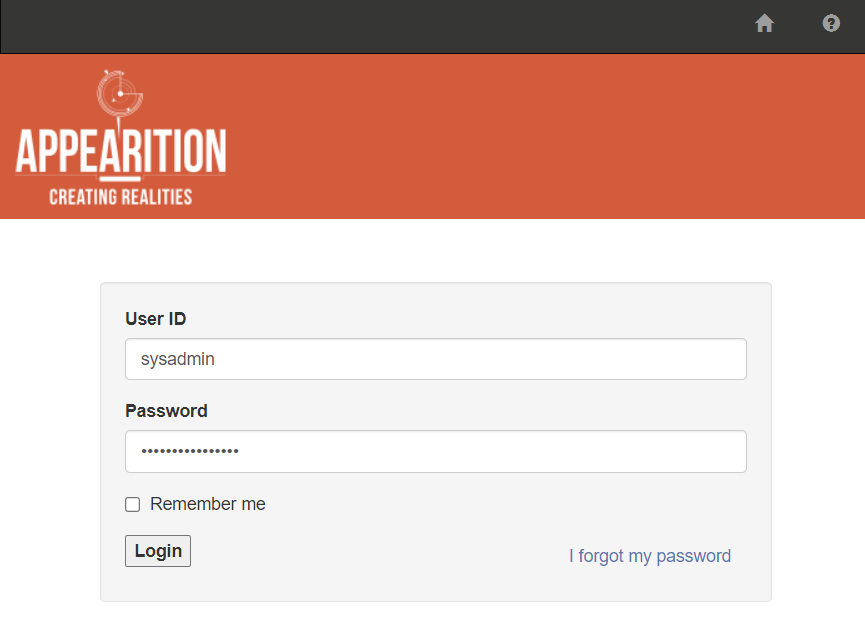
Login to the Appearition Platform#
To login to the Appearition Platform, navigate to Portal link as shown in the Outputs tab of the CloudFormation stack (see above). Username is sysadmin and password is the Ec2InstanceId value.
Login to AUXILIO#
To login to the AUXILIO, navigate to AuxilioRemoteExpert link as shown in the Outputs tab of the CloudFormation stack (see above). Username and password is remote1.
Sample account only
We have pre-created the remote1 user for AUXILIO as a sample account to make it easy and quick for you to start exploring the application. It is highly recommended you configure a stronger password for this user via the Appearition Platform portal. You can also create and assign new users to AUXILIO by creating a new user account via the User Management screen in the Appearition Platform portal and assigning the account to the Remote Expert persona.
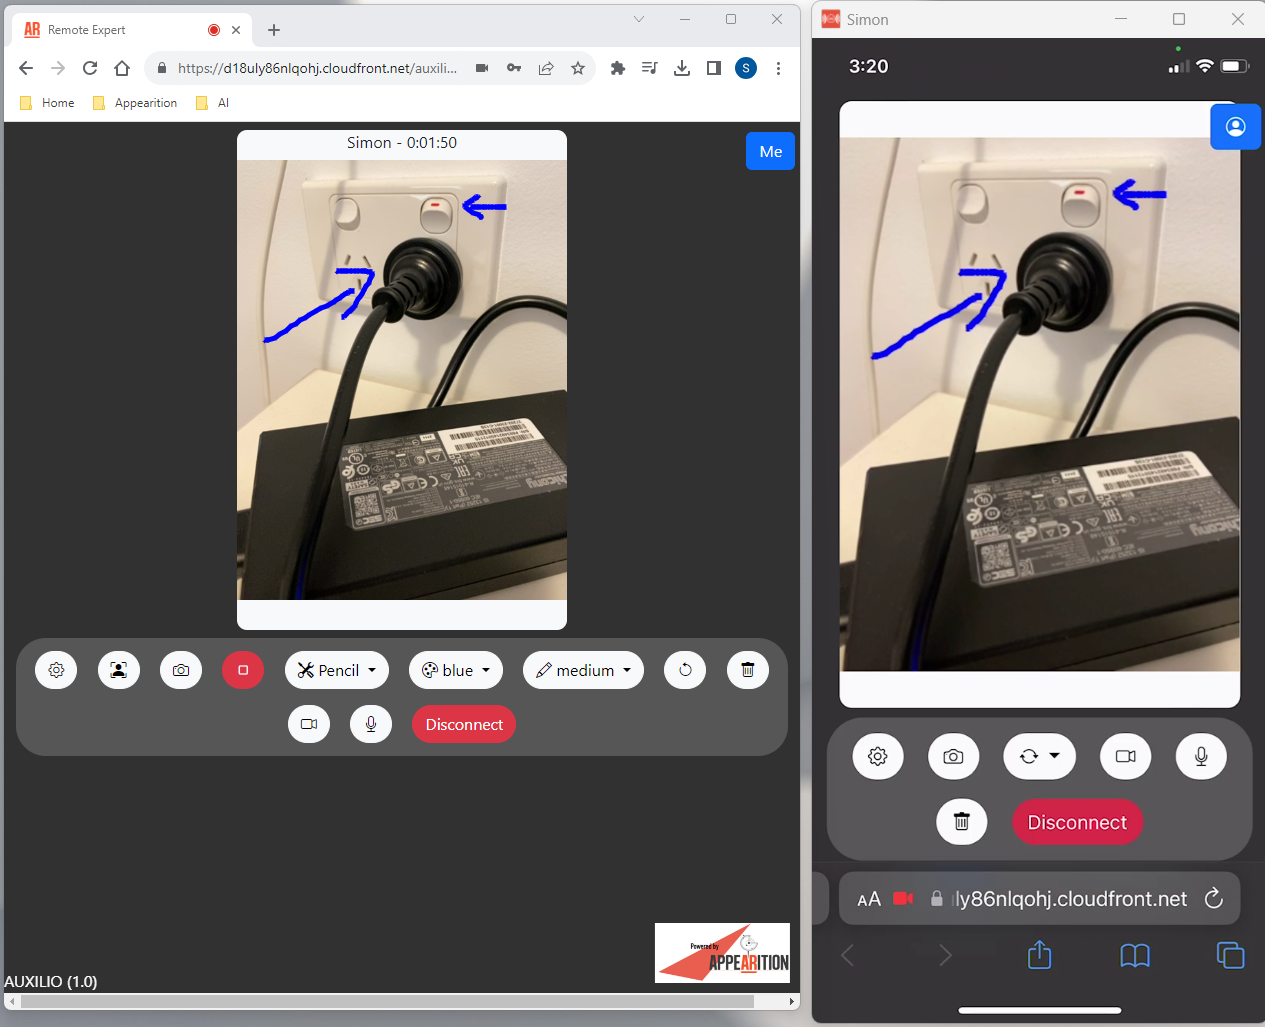
Remote Support Video Calls#
AUXILIO is a video support tool between two parties with AR annotation capability. It is a web application that runs in any modern browser on any device platform.
Remote Expert#
A Remote Expert will answer a support call made by a Support User. Support calls are answered via the AUXILIO Remote Expert web page. Refer to the section above to find out how to Login to AUXILIO.
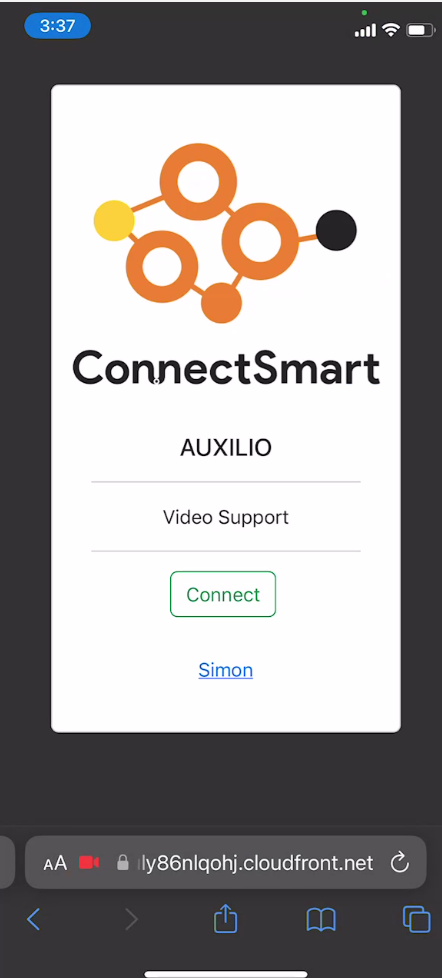
Support User#
The Support User is the person who has a problem and needs assistance from the Remote Expert. The Support User needs to be given a “support call link” so they can initiate the call with the Remote Expert. It is the Remote Expert who sets up the “support call link”.
How to setup a support call link#
It is the function of the Remote Expert to setup a “support call link” to provide to the Support User. This is a special web address through which the Support User can connect with the Remote Expert. It is created by the Remote Expert via the “Settings” screen of their login.

How does the Support User receive the support call link?
This is something that needs to be managed and coordinated by the Remote Expert as a separate action outside of AUXILIO. The “support call link” is something that can be generated in advance and sent to the Support User as part of any standard messaging/communication method (e.g. email, link on a web site). For convenience, the “support call link” is also generated as a QR code to make it easier for the Support User to initiate the support call from a mobile device.
Making Support Calls#
The Support User initiates the call to the Remote Expert. They first navigate to the support call link, provide their name and click connect.
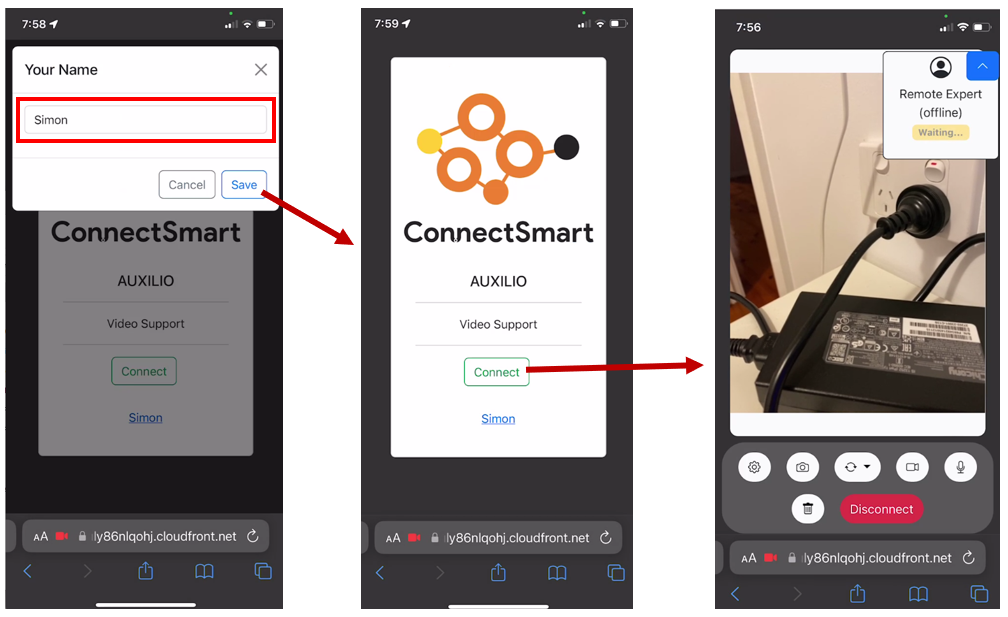
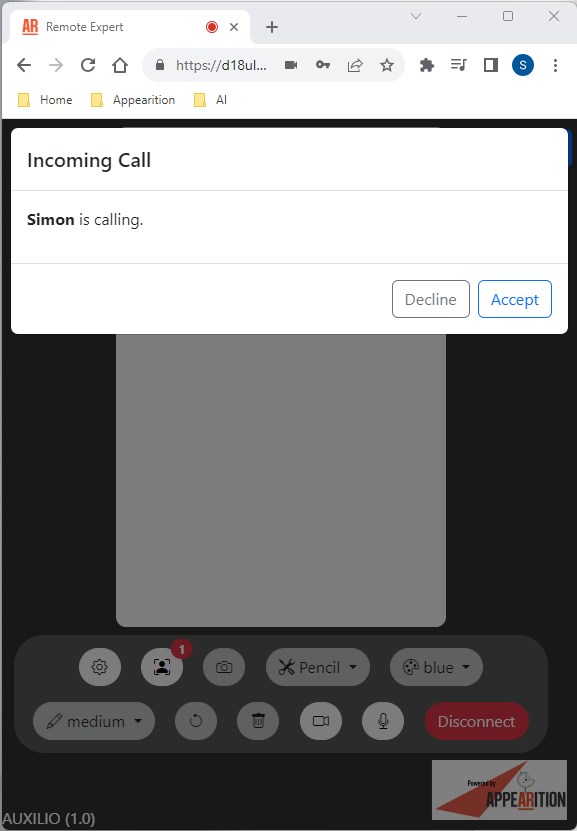
The Remote Expert needs to be logged into the web page to receive the call. They can choose to accept or decline the call.
Troubleshooting#
I cannot log into AUXILIO#
- Verify if you can log into the Appearition Platform Portal. If not, please troubleshoot that first here.
- Verify that the Appearition Broker is running here
Appearition Platform Portal is not loading#
- Check the EC2 instance created during the Stack creation is running via the AWS EC2 console. Start it if stopped.
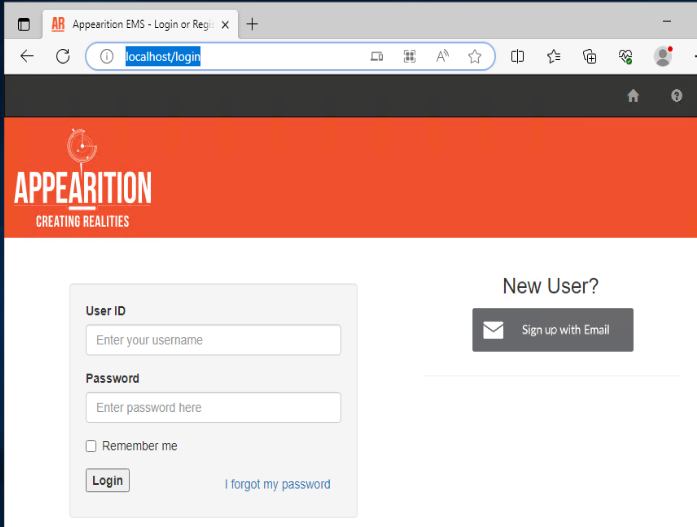
- RDP into the Windows Server on the EC2 instance and try navigate to the local Portal login page via a web browser. Enter http://localhost/login
- If you don’t see the portal page then Rerun the Appearition Platform installation script
How do I login to the Appearition Platform Portal?#
- From the AWS console, get the Public IP address and the Instance Id of the EC2 instance
- Follow the URL http://Public IP/login
- Username is sysadmin
- Password is Instance Id
Login with sysadmin is not working#
- Try to rerun the Appearition Platform installation script
- Contact us for further support
Rerun the Appearition Platform installation script #
For any of the reason above, you can always run the installation script manually on the EC2 instance.
- RDP into Windows Server.
- Open Powershell prompt as Administrator
- CD to C:\Appearition\Platform\Releases
- RUN: .\InstallOnLaunch.ps1
- Installation may take about 10 mins
What is the installation doing?
- The installation script will reinstall and reconfigure all of the services and web apps
- You can customise options in the settings.txt file like changing the domain and SSL as per the section above.
- It also runs a health check on the master and tenant database schemas and does any necessary updates or repairs
- It will discover the Public IP address and assign the various URL references
- Finally it will discover the Instance Id of the EC2 instance and then create the sysadmin and set the password.
Verify the Appearition Broker is running#
- Access the Swagger home page of the broker. From the Outputs tab of the Stack creation navigate to “Broker” URL. If the broker is running, you will see the Swagger Home page
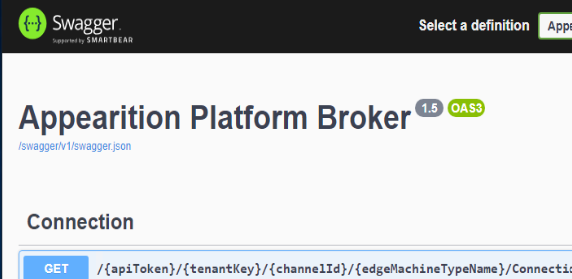 .
. - If you don’t see the Swagger home page verify you can Login to the Appearition Platform and if not, troubleshoot that first here
- Restart the Appearition Broker service here
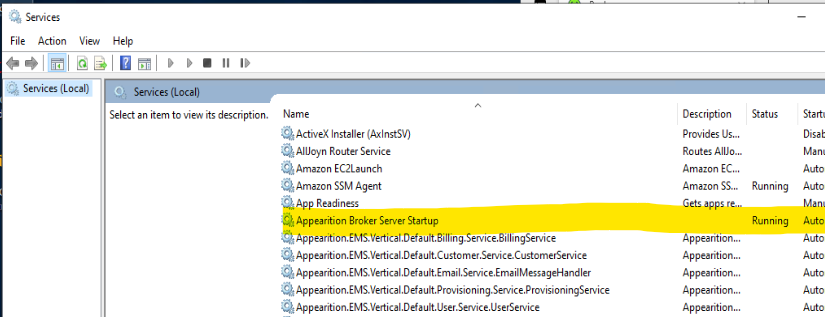
Restart the Appearition Broker service#
- RDP into the Windows Server on the EC2 instance that was created as part of the Stack. In a web browser navaigate to http://localhost:83/Swagger/index.html. If the broker is running, you will see
- If not, open the Services Management Console and look for a service named Appearition Broker Server Startup. Stop and restart it.
Other Resources#
The following are useful links:
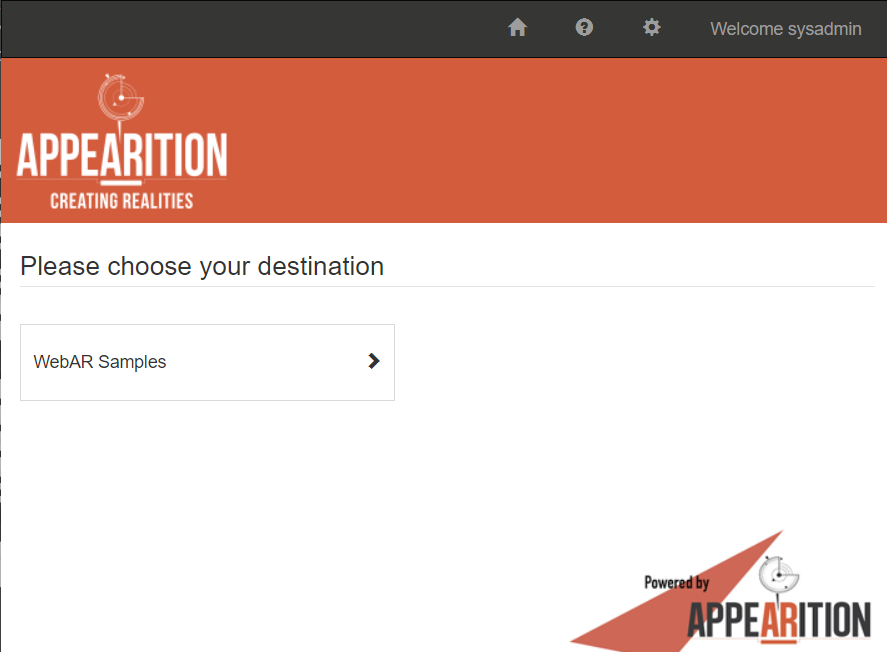
WebAR Sample#
The Appearition Platform comes with a sample WebAR experience that you can run and try. To access the experience follow these steps:
- Log into portal (refer to the LoginUrl output in the Cloudformation stack)
- username is sysadmin
- password is the instance id of the EC2 instance (refer to the AppearitionPlatformEc2InstanceId output in the Cloudformation stack)
- Select WebAR Samples tenant
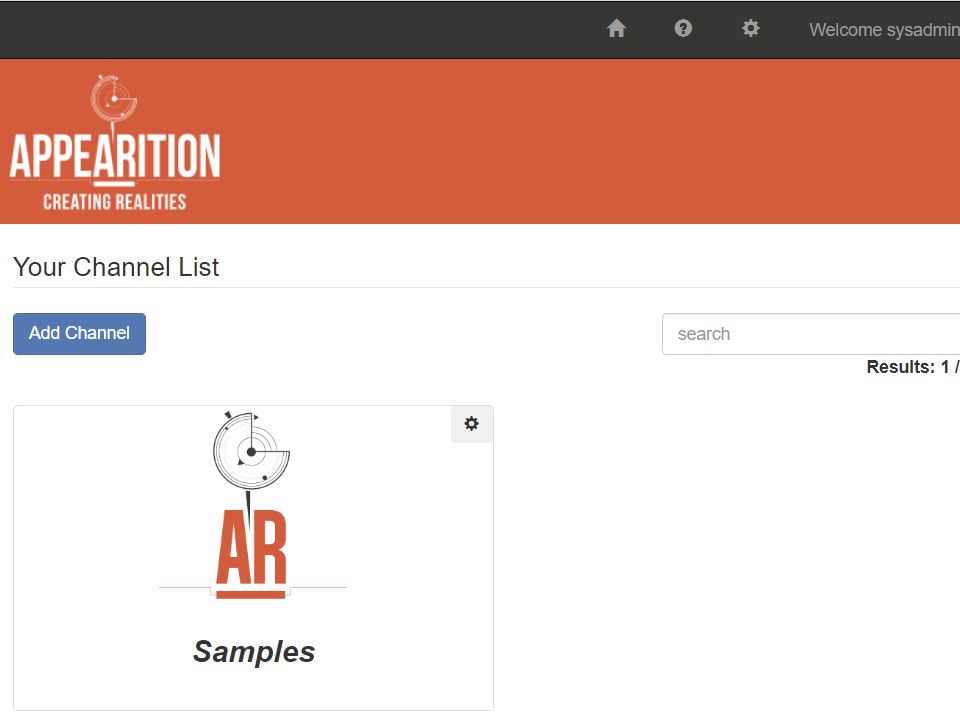
- Click on Your Channel List button

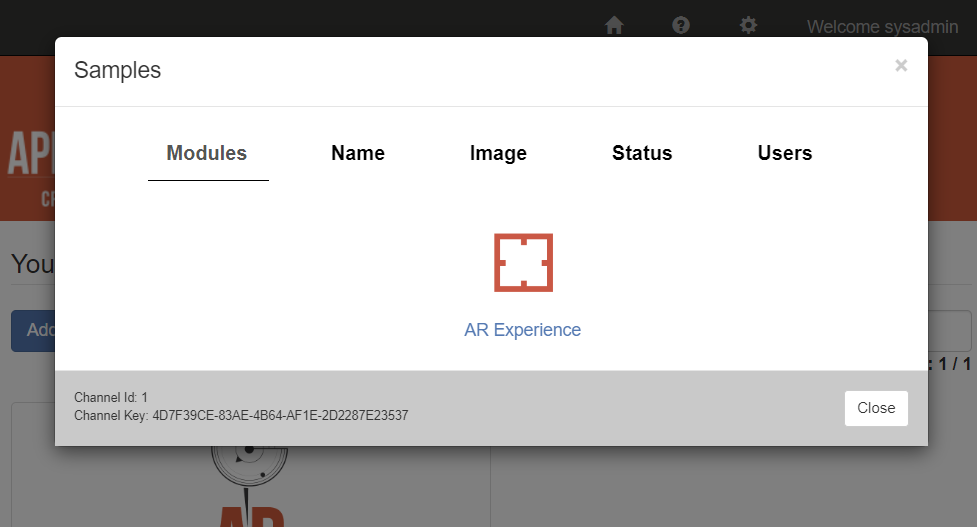
- Click on the Samples channel
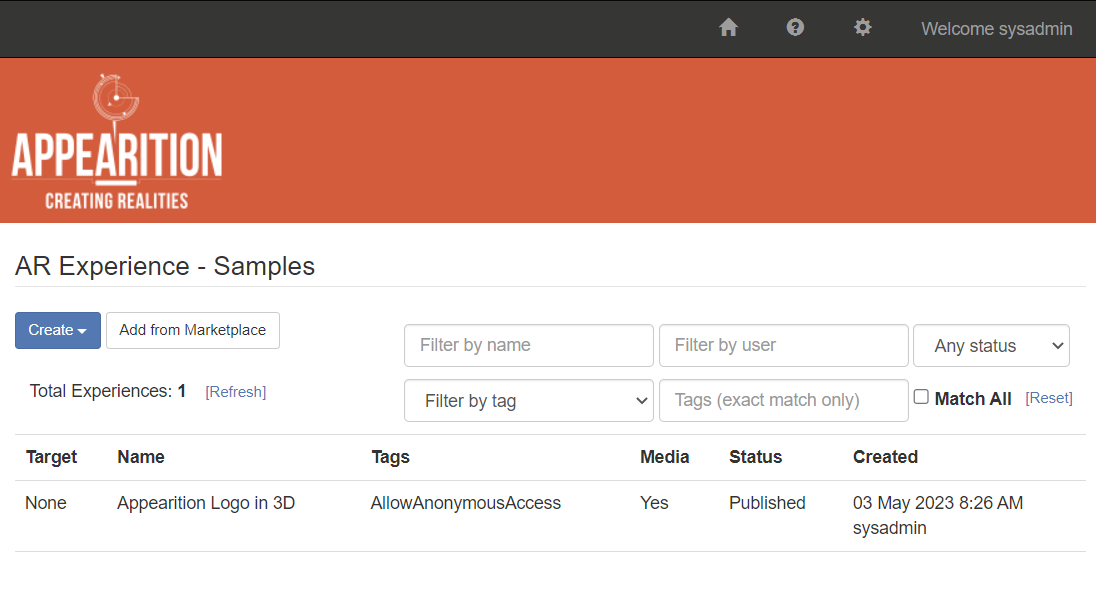
- Click on AR Experience module
- Click on the first AR record Appearition Logo in 3D
- Click on Status tab
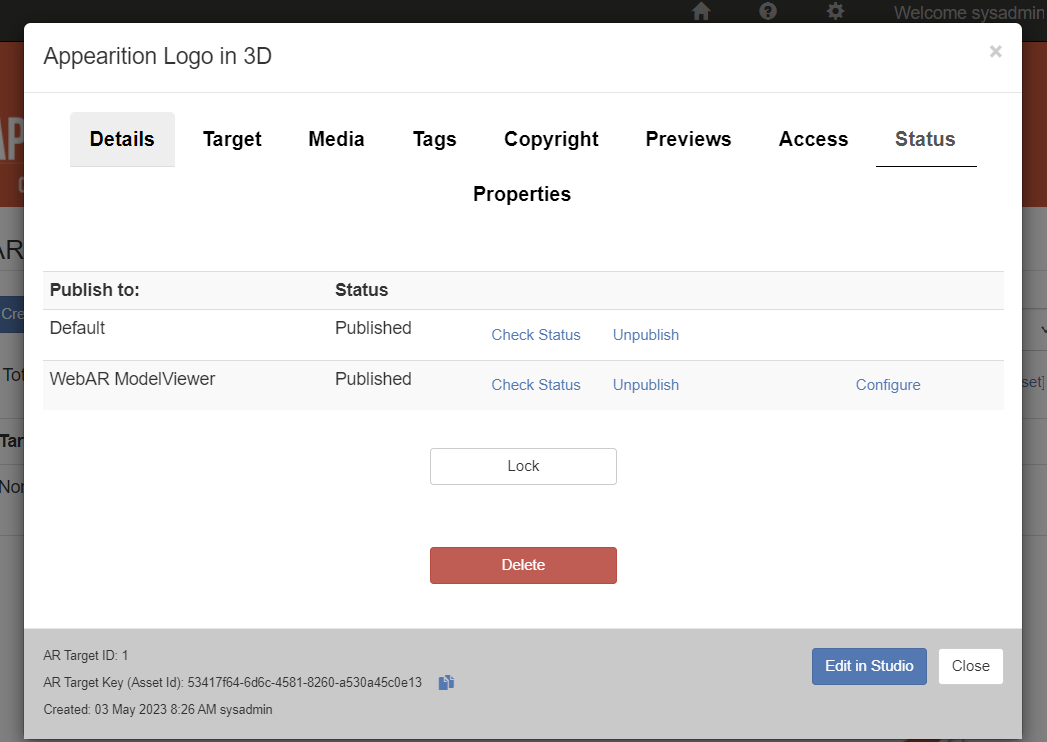
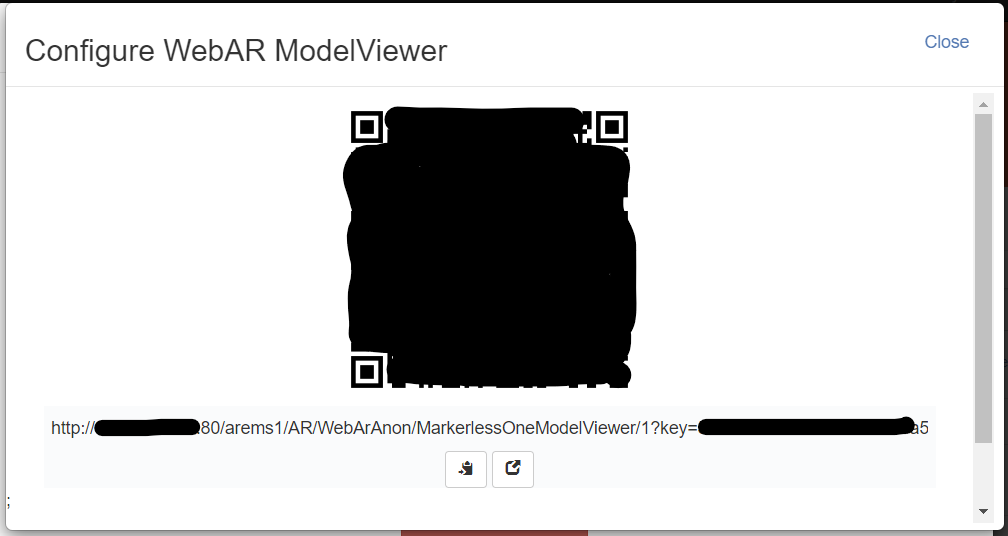
- Click configure link next to the Publish to ModelViewer row

- Scan QR code with your mobile device (iOS or Android)


Contact Support#
Please contact us via support@appearition.com for assistance.